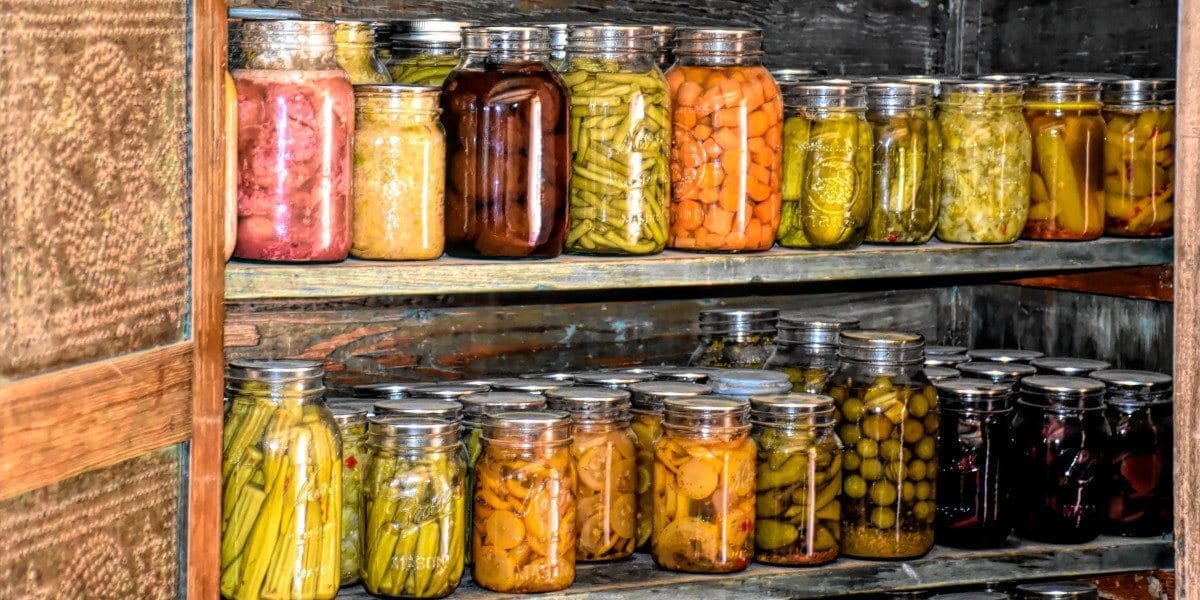
Have you been looking for ways to cut down on your grocery bill? Do you want to live a more Earth-minded lifestyle with greater simplicity and less waste? Canning may be the perfect fit for you and/or your family.
Canning has been used for centuries as an inexpensive, space-economical method of food preservation, particularly before refrigeration was available. With science-backed knowledge, the right materials, and some elbow grease, you can have the canning pantry of your dreams. So, what is canning, and how do you do it? Let’s dive in!
What Is Canning?
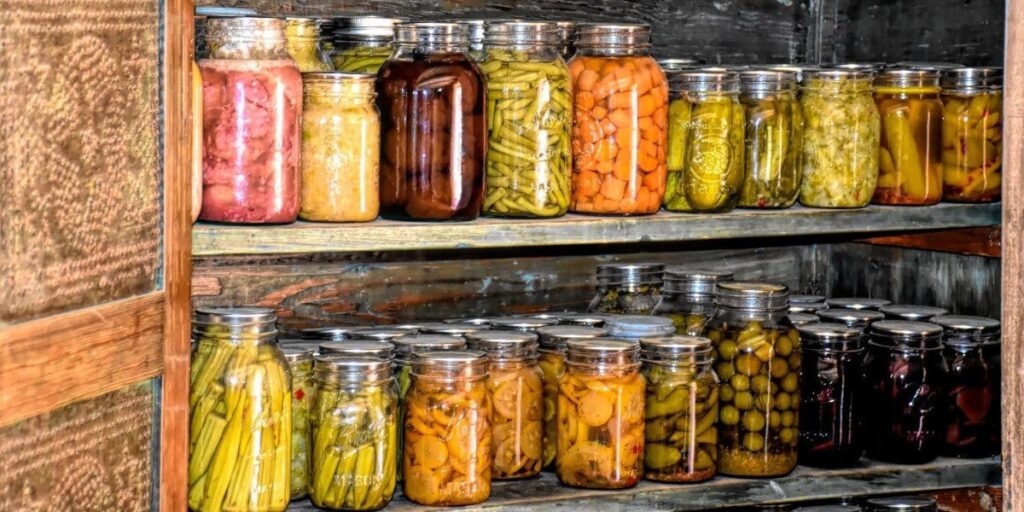
Canning is the process of modifying or processing food and then sealing it in an airtight container for one to two years’ storage. Most people who engage in canning use glass jars or steel and tin cans to protect their food from the elements and ensure containers are easily stackable.
Many individuals and families get into canning for several important reasons. Those reasons include reducing their normal grocery bill, keeping food longer, making specific recipes year-round, and having access to emergency food if ever needed.
Foods commonly utilized in canning include the following:
- Tomatoes and tomato sauce
- Cranberries and cranberry sauce
- Chicken and chicken broth
- Asparagus
- Peppers
- Corn
- Potatoes
- Beets
- Pickles
- Carrots
- Green beans
- Peas
- Fruit
- Spinach
Some of the aforementioned foods are best used with water bath canning; others are best intended for pressure canning. We’ll discuss various canning methods later.
What Is Dry Canning?
Dry canning is the process of putting dried goods like nuts, beans, flour, and pasta in containers, heating the containers up, and storing the food. Some dry canning instructions encourage readers to place lids on containers before placing them in the oven; other instructions show to place lids on the containers after they’re heated.
The idea behind dry canning is to preserve foods similarly to regular canning, but reality often tells a different story. Preserving food longer and at cost-effective rates is a great goal to have, but facts must be accounted for.
Many canning experts and scientists strongly discourage dry canning for numerous reasons. Here are the most important ones to know:
- Dry foods still have some moisture in them. Perhaps surprisingly, even the “driest” of foods like flour and dry beans still have about 10 to 30% moisture in them. Over time, moisture leads to oxygenation, and oxygenation leads to foods spoiling.
- Certain pathogens are resistant to drying. Some pathogens like Salmonella can survive for weeks in dry environments, which is long enough to poison food. The last thing you want when canning is opening up seemingly safe goods only to become ill.
- Even heating doesn’t remove all moisture. When heating just about anything, moisture migration takes place. This is when the moisture from any object or container moves up to the surface, thereby concentrating it. Moisture migration is actually more pronounced in dry goods than wet goods because all of the moisture becomes trapped at the top. This gives the moisture a perfect place to affect the food inside the container–bad news for sure.
What Is Oil Canning?
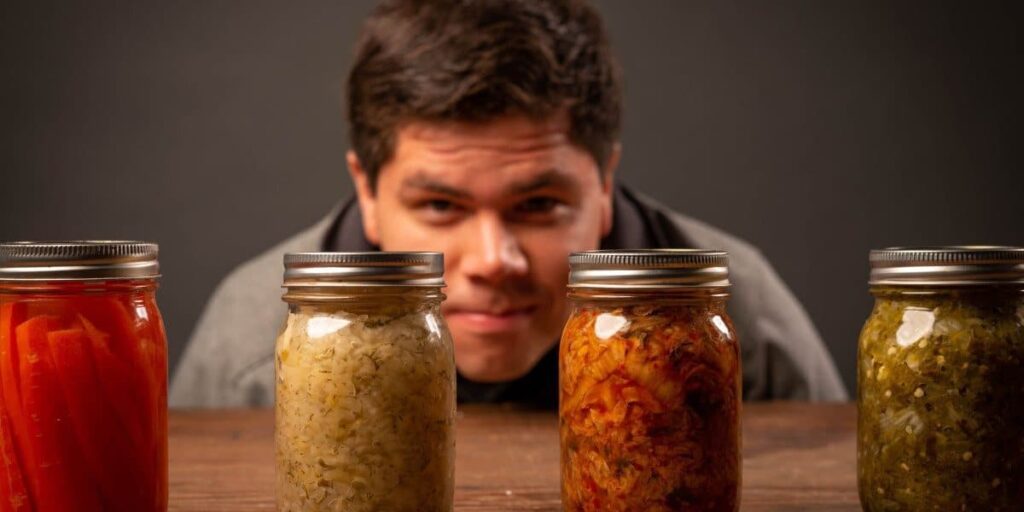
Oil canning is similar to canning but instead of using water, syrup, or juice, you’re using oil. Those who have done oil canning before may have used olive, canola, vegetable, or soybean oil.
Oil canning is greatly discouraged by food scientists and researchers because of oil’s high propensity for going rancid. The chemical compound interactions between oil and foods with high fat content also develop a terrible taste after being canned for longer than a few days. For these reasons, it’s best to use a different canning method.
There are only three foods that oil canning is scientifically proven to be suitable for. Check them out below:
- Pickled three-bean salad. This recipe can be canned with one quarter cup oil.
- Marinated whole mushrooms. You can add up to two cups of oil to a 9 half-pints recipe of marinated mushrooms without risk of spoilage.
- Marinated peppers. One cup of oil can be added to marinated pepper recipes without going bad.

What Is Pressure Canning?
Pressure canning is using a large pressurizing pot, water, and your food container to heat up the container via steam. This method heats cans and jars up to at least 240°F which is the temperature necessary to kill all harmful microorganisms.
Without heating the food container to this temperature, the bacterial spores that cause botulism toxin can develop over time. Pressure canning is the only canning method that preserves low-acid foods successfully.
Here’s how to do pressure canning:
- Obtain your pressurizing pot.
- Gather your food jar(s) or can(s) and heat them in your pressurizer.
- Fill your containers with the correct amount of water and food according to the recipe you’re using.
- Remove all air bubbles with the correct utensils or tools.
- Wipe the rim of your container(s) to remove any final bubbles and add lids.
- Place the containers back in your pressurizing pot and lock the lid.
- Vent your pressurizing pot for 10 minutes.
- Adjust your pot’s settings to achieve the correct pressure.
- Once the correct pressure level and temperature have been reached, turn off your pot’s heat and depressurize.
What Is Open Kettle Canning?
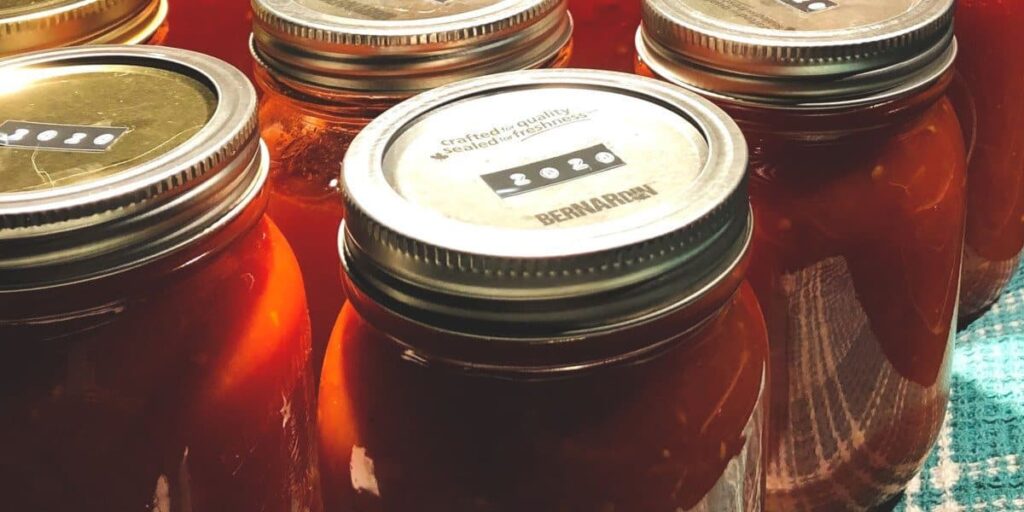
Open kettle canning (similar to water bath canning) is the process of cooking food in an open pan or kettle, transferring boiling food and water into the container, and then sealing the container. This is the oldest form of canning as it doesn’t require more than a cooking and heating source, the food and water, and containers to store the food.
Years ago, open kettle canning was the most common method for preserving jellies, jams, and pickles. Since fruit jam and jelly is acidic from the fruit and pickles require vinegar, thousands of people were able to preserve food for months with no other materials.
Because open kettle canning only uses the heat from the food and water to seal the container, some canning experts don’t consider it real canning. Today’s canning standards require that a pressurizer or other mechanical means of sealing take place in order to be as safe and secure as possible.
What Is the Difference Between Regular Salt and Canning Salt?
The main difference between regular salt and canning salt is that regular salt often has iodine added for thyroid health and E535 or E536 added to prevent clumping. Canning salt, also called pickling or preserving salt, is pure sodium chloride. The lack of iodine allows the salt to dissolve more easily and prevents spotting or discoloration in the preserved food.
What Is a False Seal In Canning?
A false seal in canning occurs when the lid of the jar or can isn’t correctly sealed. The cause of a false seal can be the food container’s lid or rim wasn’t sufficiently wiped, the container isn’t filled correctly, or if the food wasn’t added to the container correctly.
A meticulous level of attention to detail must be paid when preparing a jar or container to be sealed. The lid must be completely dry and perfectly sized for the container you’re using. The wrong size of lid or an improperly affixed lid can allow oxygen to creep in and prematurely spoil the food.
What Is Cold Pack Canning?
The definition of cold packing differs, but most people agree that cold pack canning refers to heating jars or cans and then immediately putting vegetables or fruits into them. Other canning experts say you can add the food, canning liquid, and then heat the jars later.
Many modern canning books don’t suggest cold pack canning or even refer to it because it’s seen as a fringe method. Not everyone who engages in canning has the materials to do cold pack canning specifically.
Cold pack canning involves adding the food you’re preserving to the container; pouring water, brine, fruit juice, or another canning liquid over the food; sealing the container; then submerging the container in boiling water.
Submerging the containers can be done for anywhere from 20 minutes to three hours, which depends on the number of containers, their size, and the food you’re preserving. After heating, the containers are checked to ensure a proper seal. With the right seal, food storage containers can last six to 12 months, sometimes even longer.
What Is Citric Acid Used for In Canning?
Citric acid is used to increase the acidity of the food(s) being preserved in canning. The pH level of citric acid is between three and six, which makes it a weak acid but perfect for canning and preserving.
An acidic food or canning environment prevents the germination of the Clostridium Botulinum bacterium, which is a deadly toxin. If present in food, it can weaken the muscles that control the face, throat, mouth, and eyes, which causes difficulty breathing and eventually death.
If you’re using citric acid in your own canning, make sure the pH level is 4.6 or lower before sealing. Higher than this and you risk the development of toxins. You can use a pH meter to measure your container’s acidity before sealing and storing it. The only exception to this rule is if you’re doing pressure canning.
What Is Headspace In Canning?
Headspace in canning is the amount of space between the top of the food in a container and the lid of the container. The amount of headspace you should maintain when preserving food depends on the food you’re preserving.
Here are the recommended amounts of headspace for specific food categories:
- Jellies and jams: ¼ inch headspace
- Foods with boiling water bath: ½ inch headspace
- Low acid vegetables (including asparagus, mushrooms, carrots, eggplant, squash): 1 inch headspace
- Pressure-canned foods: 1 inch headspace
- Most meats: 1 ½ inch headspace
What Is Siphoning In Canning?
Siphoning occurs when liquid inside the container is drawn out of it, usually caused by a fast change in air pressure or temperature. Siphoning is usually unwanted, which is why it’s important to heat the jars or containers you’re using before adding hot materials to them. Using the correct headspace for your can contingent upon the recipe and food you’re storing is also crucial to preventing siphoning.
6 Simple Steps to Get Started In Canning
Now that you’re familiar with which canning methods to avoid and which ones to use, you’re likely ready to get started. We’ve pulled together the essentials of canning so you can get started even on a limited budget. Keep reading to discover the simplest way to start.
1. Decide What Foods You Want to Can
Step one is choosing the foods you’re going to can. Fruit is one of the best food categories for beginners to start with as many fruits are naturally acidic and don’t require additional preservatives.
- Mixed berries
- Apple butter
- Plums
- Applesauce
- Pie fillings
- Jelly
2. Find Canning Recipes to Start With
Step two is selecting canning recipes that make for an easy place to start. There are thousands of free recipes online that can help you get into the swing of things.
3. Get Equipment for Your Canning Method
Step three is obtaining the equipment for the method and recipe(s) you’ve chosen. If you’re doing regular canning, you won’t need a pressurizing pot. If you’re doing pressure canning, buy a pressurizing pot that’s large enough for the amount of food you plan to can on a regular basis.
4. Obtain Canning Supplies
Step four is getting the rest of your canning supplies. This includes all of the other materials to get started, such as:
- Canning jars or containers (Kerr, Mason, and Ball jars work well)
- Undented, rust-free metal bands for your jars or containers
- Metal canning lids for your jars or containers
- Canning funnel
- Food mill or strainer
- Stainless steel ladle
- Jar lifter
- Stainless steel stockpot
- Boiling water canner
- Rack to place inside the canner
5. Follow the Recipe(s)
Step five is starting your recipe! Make sure to follow exactly what the recipe includes. Seemingly insignificant variations can alter the entire outcome of your preserved food and may pose future health risks.
6. Adjust As Needed
Step six is evaluating your current canning flow and adjusting if needed. If you went without one piece of equipment but discover that you need it, invest in it before another round of canning. If you need more canning or storage space, account for this before moving forward.
Frequently Asked Questions About Canning
While canning has been around for centuries, many people are new to it. Refrigeration, freezers, microwaves, and modern cooking equipment have all but sidelined older food preservation and storage methods like canning.
That said, getting started with canning comes with a lot of questions. Here are the most frequently asked questions about canning and our answers:
Why Is It Called Canning?
Canning earned its name because centuries ago, most people used tin cans or canisters and used the shorthand term “canning” instead of “canistering.” Over time, people found that glass jars were sturdier and easier to stack than tin cans, so the word canning stuck despite changes in materials.
What Foods Cannot Be Canned?
Low-acid foods like meat, seafood, and all vegetables should not be canned unless they’re packed properly via pressure canning. Pressure canning is the only method that safely heats both jars and the food inside them to a high enough temperature to prevent the formation of botulism toxin.
What Is the Main Purpose of Canning?
The main purpose of canning is to safely, efficiently, and cost-effectively preserve various types of food for six to 12 months, thereby lowering food costs. There are other benefits of canning too, such as offering ingredient flexibility with recipes, saving one’s favorite foods longer, and creating more meals with fewer trips to the grocery store.
Canning is just one step you can take to live a more waste-free, eco-friendly lifestyle. Take the next step by investing in a certified organic mattress made with Earth-friendly materials. Shop our mattresses that have organic wool, cotton, and latex in them now!


